We're thrilled to see the positive response to our first edition. Your enthusiasm fuels our commitment to bringing you the most valuable CNC insights and community highlights each week.
In this edition, we've got some exciting project showcases, a crucial troubleshooting tip, and a deep dive into an essential CNC term. Whether you're fine-tuning your skills or tackling a new challenge, we've got something for you.
Let's jump into this week's CNC adventure!
🛠CNC Troubleshooting Corner🛠
This Week's Issue: Tool Breakage During Cutting
You're in the middle of a project, and suddenly your cutting tool snaps, potentially ruining your workpiece and causing a safety hazard.
Possible Causes:
Incorrect feed rate or spindle speed
Dull or worn tool
Improper chip evacuation
Material hardness mismatch
Excessive cutting depth
Quick Fix:
Review and adjust your feed rate and spindle speed. As a general rule, increase spindle speed or decrease feed rate to reduce tool stress.
Regularly inspect and replace tools. Establish a tool change schedule based on material and usage.
Ensure proper chip evacuation with appropriate dust collection or air blasts.
Verify that your tool is suitable for the material you're cutting. Adjust settings for harder materials.
Take multiple shallow passes instead of one deep cut, especially for harder materials.
Pro Tip:
Listen to your machine! Unusual sounds or vibrations often precede tool breakage. If something doesn't sound right, stop the machine and investigate immediately.
(Not a member yet? Sign up here to join our community!)
📖CNC Term of the Week📖
Stepover
Definition: Stepover, also known as "step-over" or "width of cut," refers to the distance the tool moves laterally between parallel toolpaths when cutting or milling a surface. It's typically expressed as a percentage of the tool's diameter.
Why it matters: The stepover value affects both the quality of your finished surface and the efficiency of your cutting process. A smaller stepover produces a smoother surface finish but takes longer to complete, while a larger stepover is faster but may leave visible toolpath marks.
Example: If you're using a 1/4" (6.35mm) end mill and set a 50% stepover, the tool will move laterally by 1/8" (3.175mm) between parallel passes.
Tip: For roughing operations, a stepover of 40% to 75% of the tool diameter is common. For finishing passes with ball nose bits, consider using a stepover of 8% to 10% for smoother results.
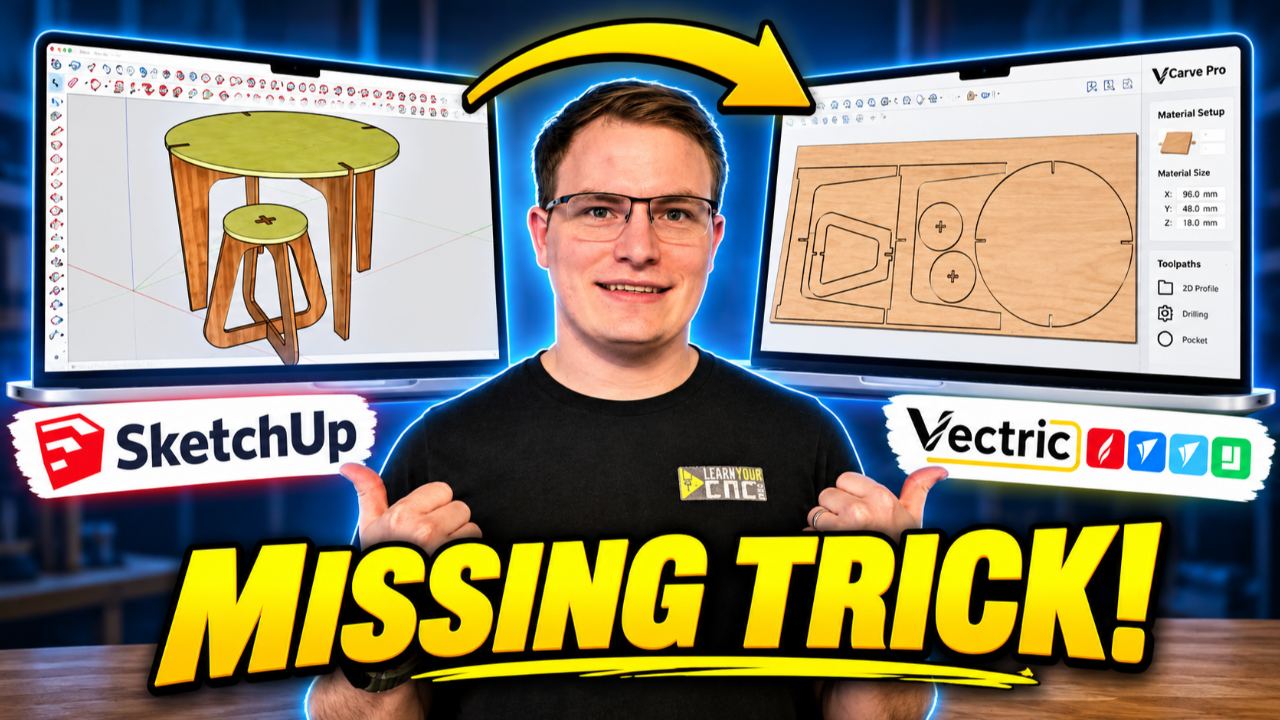
Most people think VCarve cannot do custom 3D modeling, but that’s not actually true. In this video, I show you how to create a fully custom 3D snowman model in VCarve using only the clipart that already comes with the software. No Aspire. No upgrades. No extra purchases. Just VCarve.
You CAN Make 3D Models in VCarve… Here’s How →
👇This Week's Highlights👇
Project Lesson of th...
Ever have time to use your CNC, but no idea what you want to make?
That’s a great opportunity to use AI. Before you even open VCarve or Aspire, you can use it as a brainstorming partner.
The trick is to give it a little direction.
Instead of asking, “What should I make with my CNC?” try something like this:
“Give me 20 CNC router project ideas for dog owners. Focus on projects I can make from ...
Ever feel like you’re only scratching the surface of what your Vectric software can actually do? We’ve all been there, using the same basic settings day in and day out while missing out on features that could save hours of shop time.
This week, I’m sharing a breakdown of 14 hidden toolpath gems in VCarve, Aspire, and Cut2D that changed my entire workflow. From getting rid of those annoying witn...
LYCNC Weekly Newsletter
The Learn Your CNC Academy Weekly Newsletter is your go-to resource for staying at the cutting edge of CNC machining. Each week, we deliver a curated blend of expert insights, practical troubleshooting tips, and community highlights directly to your inbox.
Whether you're a hobbyist or a professional, our newsletter is designed to help you continuously improve your CNC skills, stay informed about the latest techniques, and feel connected to a vibrant community of CNC enthusiasts.
Recent Live Lesson Replays
Stay on top of your CNC game with our latest Q&A Meetups and Project Lessons. These sessions are packed with valuable insights, troubleshooting tips, and step-by-step guidance to elevate your CNC skills.
Can't get enough? We've got you covered! Dive into our extensive collection of lesson replays, covering everything from basic techniques to advanced CNC strategies.