07-08-2026 Q&A: 3D Modeling Blends, Limit Planes, and V-Bit Tool Databases
Jul 07, 2026
Note: You must be a member of the Learn Your CNC Academy Community to watch this replay. Benefits include weekly Q&A Meetups, weekly project lessons, monthly CNC challenges, an active community of Vectric users, past replay lessons & project files, and so much more!

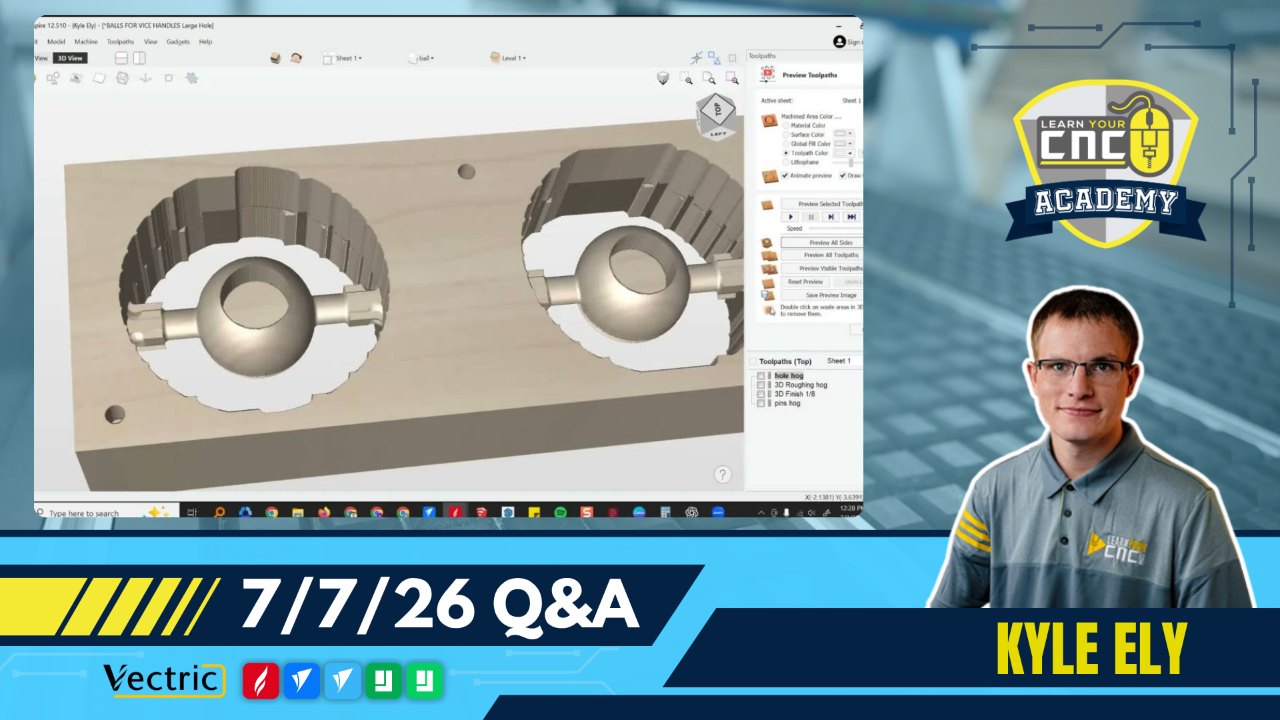
In this Q&A session, we covered questions ranging from 3D modeling custom grips to properly setting up double-sided 3D carves. We discussed strategies for managing complex 3D blends, using the cross-section tool for molding toolpaths, and employing limit planes to achieve clean edges on two-sided projects. The session also touched on troubleshooting V-bit tool database settings for inlay toolpaths, maintaining consistent material thickness using two-rail sweeps, and recalculating toolpaths when moving vectors on a larger sheet.
Key Tips Learned in this Q&A:
-
3D Modeling Blends: When modeling complex contours, it is often easier to create the full 3D model first and then subtract or trim away the parts you don't need, rather than trying to blend two separate models together.
-
Visualizing Toolpath Depths: If you are struggling to find the exact depths for a molding toolpath, use the "Create Cross-Section" tool to draw a side profile of your shape; this helps you measure and set the exact "gap above" and "gap below" settings.
-
Double-Sided Clean Edges: To prevent a paper-thin lip when doing double-sided 3D carving (like a sphere), add a zero plane (limit plane) on its own level and drop it slightly below the surface (e.g., past the radius of the ball nose bit) so the tool cuts slightly past the center line.
-
Tool Database Accuracy: Always double-check tool database files downloaded from manufacturers . They sometimes enter tools incorrectly (e.g., entering a pointed V-bit as an engraving bit), which will prevent you from selecting it for specific operations like the VCarve Inlay toolpath.
-
Consistent Thickness in 3D: To get a consistent thickness on a curved, double-sided project (like a hair clip), use the Two-Rail Sweep tool on both sides and offset your vectors by your desired thickness, rather than trying to manually eyeball a dome or dish height.
-
Moving Vectors and Toolpaths: If you move a vector to a new location in the 2D view, you must recalculate the toolpath and reset your 3D preview for the machine to recognize and display the new cut location.
Questions Answered in this Q&A:
-
00:02:33 - John: How to blend 3D models and find exact depths for molding toolpaths.
-
00:13:19 - Leo: Where to find attached files and links from the lesson replays.
-
00:14:59 - Howard: How to remove the thin edge and nodules from a double-sided 3D sphere carve.
-
00:28:16 - Roy: Using a 3-flute 30-degree V-bit for inlays when the software identifies it as an engraving bit.
-
00:31:45 - Ernie: How to create a consistent thickness for a double-sided curved hair clip.
-
00:43:31 - Bill: Opening VCarve 12 files in VCarve 11 for the node lesson.
-
00:44:12 - Sherrill: Locating the AI prompt cheat sheet and fill-in-the-blank templates.
-
00:50:58 - Ray: Troubleshooting a toolpath carving in the wrong location after moving the design on a larger plate.
Keywords:
3d modeling, molding toolpath, create cross-section, zero plane, limit plane, double-sided carving, tool database, v-bit, vcarve inlay, two-rail sweep, ai prompt, recalculate toolpath
Not a member of our Learn Your CNC Academy Community? Join over 1,500+ students today! Benefits include weekly Q&A Meetups, weekly project lessons, monthly CNC challenges, an active community of Vectric users, past replay lessons & project files, and so much more!