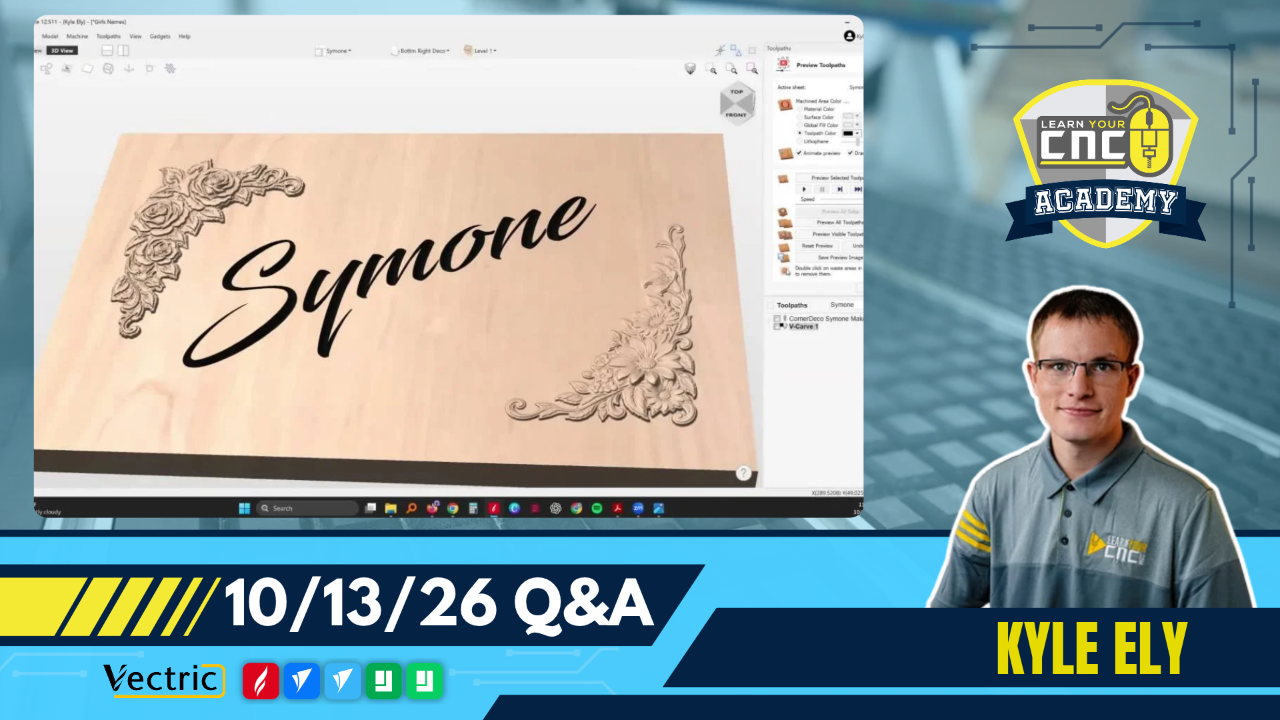
10-13-2026 Q&A: Text Inside Logos, 3D Bowl Textures, and Adjusting 3D Model Heights
Oct 13, 2026
Note: You must be a member of the Learn Your CNC Academy Community to watch this replay. Benefits include weekly Q&A Meetups, weekly project lessons, monthly CNC challenges, an active community of Vectric users, past replay lessons & project files, and so much more!

In this Q&A session, we covered questions ranging from integrating text into existing vectors to troubleshooting 3D finish toolpaths. We discussed adding offset text to a logo, adding custom 3D textures to bowls, and the complexities of modifying slot sizes for different material thicknesses. The session also touched on orienting live edge boards, using the correct bits for pockets, and adjusting 3D model positions within the material block.
Key Tips Learned in this Q&A:
-
Text Offsets for Logos: When placing text inside a vector logo, create a small offset boundary around the text and use the subtract tool to remove the intersecting lines from the background logo, preventing the text from being ruined when welded.
-
Resizing Slotted Furniture: Changing a design to a thinner material (e.g., 5/8" down to 1/2") weakens the structural integrity, and manually adjusting complex slotted vectors is prone to errors; it is highly recommended to ask the file creator for adjusted dimensions.
-
Adjusting 3D Heights: If 3D models imported from external AI tools sit below the modeling plane and do not carve correctly, adjust their "base height" to a positive value or zero so they stand proud above the surface.
-
Material Setup for Deep Carves: To prevent 3D toolpaths from carving unnecessarily deep into the material, adjust the "Model position in material" setting to push the model closer to the top surface, which saves machining time and reduces warpage risks.
-
Bit Selection for Pockets: When clearing wood inside a pocket for an epoxy inlay, a down-cut bit is preferred over a compression bit because it pushes the material downwards, preventing the bit from pulling up on the edges.
Questions Answered in this Q&A:
-
00:05:15 - Randy: How to add numbers inside an existing logo file.
-
00:18:45 - Patrick: How to get a hexagonal patterned texture onto a 3D bowl.
-
00:23:50 - Jim: Changing a Japanese rocking chair file to work with 1/2-inch material instead of 5/8-inch.
-
00:33:35 - Leo: Troubleshooting a 3D carve where only the outlines are machining.
-
00:46:35 - James: Importing SketchUp 2016 files into the Advanced Machining Module.
-
00:51:37 - Oscar: Reviewing a National Park Service 3D sign file recreated by a community member.
-
00:59:23 - Todd: Designing a two-sided template for varying live edge boards.
-
01:02:15 - Dennis: Choosing between a down-cut and compression bit for pocketing epoxy inlays.
-
01:10:05 - Gary: Adjusting combine modes to fix an oval dish and molding rail 3D model.
-
01:14:01 - Jim: Exporting an SVG file without accidentally including the background.
Keywords:
offset boundary, subtract tool, 3d textures, material thickness, slot sizing, base height, model position, advanced machining module, live edge boards, epoxy inlays, down-cut bit, two-rail sweep, svg export, vcarve inlays
Not a member of our Learn Your CNC Academy Community? Join over 1,500+ students today! Benefits include weekly Q&A Meetups, weekly project lessons, monthly CNC challenges, an active community of Vectric users, past replay lessons & project files, and so much more!