9-15-2026 Q&A: 3D Scale Adjustments, Toolpath Troubleshooting, and 3D Glazing Techniques
Sep 15, 2026
Note: You must be a member of the Learn Your CNC Academy Community to watch this replay. Benefits include weekly Q&A Meetups, weekly project lessons, monthly CNC challenges, an active community of Vectric users, past replay lessons & project files, and so much more!

In this Q&A session, we covered a variety of Vectric and CNC finishing questions. Topics included troubleshooting 3D model scaling, finding resources for designing ornate box feet, and resolving roughing toolpath depth issues. We also discussed how to merge 3D images within tight depth constraints using the draft tool, clarified Z-zeroing for double-sided projects, and provided an in-depth walkthrough of a 3D glazing and painting technique using Java Brown glaze and acrylic paints to achieve an antiqued finish.
Key Tips Learned in this Q&A:
-
3D Model Scaling: To scale the height of a 3D model, you can change the base height in the shape properties or use the height map buttons in the 3D view to drag the height up or enter specific decimal values.
-
Toolpath Optimization: Using a highly aggressive bit like "the Beast" from IDC (with a feed rate of 100 and a pass depth of .75) can drastically cut roughing times, dropping one user's job from over four hours to just 38 minutes.
-
Merging with Depth Constraints: When combining 3D components under strict depth limitations (like a quarter-inch for a cabinet door), applying a small 5% draft can merge the elements effectively without distorting the design or pulling features down.
-
Zeroing Double-Sided Jobs: For two-sided projects, setting Z zero off the same side means referencing the top face for side one, and then referencing the machine bed for side two, as the machine bed corresponds to that original top face flipped over.
-
3D Glazing Technique: To achieve an antiqued finish, seal the sanded carving with lacquer, generously apply a dark glaze (like Java Brown) to settle in the recesses, and wipe the high spots with a cloth while wet. Once dry, lightly hand-sand the highlights without a block to make the details pop.
Questions Answered in this Q&A:
-
00:00:28 - Thad: How do you scale the height of a 3D model in Vectric when it isn't cooperating?
-
00:05:29 - Tobias: Are there strategies, replays, or tutorials for designing and carving ornate feet for box bottom corners?
-
00:07:58 - Mark: Why did my file look perfect in the Vectric preview but cut too deep and burn the bits when I ran it on the machine?
-
00:21:00 - Don: How do I take a depressed portion of wood and tilt it so it looks like a shovel/scoop for a challenge coin display case?
-
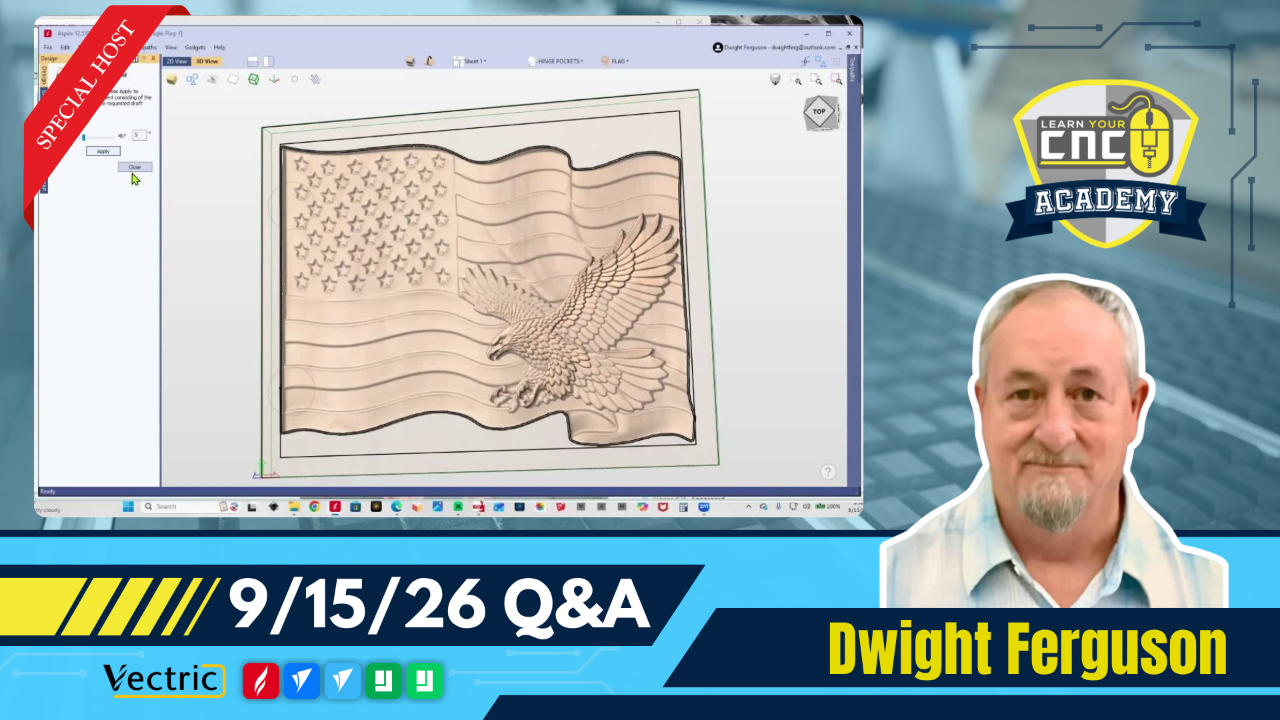
00:23:19 - Dave: How can I combine two 3D images (an eagle and a flag) for a cabinet door while staying under a strict quarter-inch thickness limit for Euro hinges?
-
00:36:32 - For double-sided carving, what does it actually mean to zero off the same side versus zeroing off the top?
-
00:39:42 - If you surface/trim material off the first side, do you need to re-zero when you flip the board over, or does the machine remember the material removed?
Keywords:
vectric 3D modeling, scale 3D model, ornate feet, roughing toolpath, the beast bit, challenge coin display, draft tool, double-sided projects, z zero, 3D glazing, java brown glaze, raymond kinman, acrylic paints
Not a member of our Learn Your CNC Academy Community? Join over 1,500+ students today! Benefits include weekly Q&A Meetups, weekly project lessons, monthly CNC challenges, an active community of Vectric users, past replay lessons & project files, and so much more!