10-06-2026 Q&A: 3D Carvings on 2D Profiles, Custom Moldings, and Surfacing Direction
Oct 06, 2026
Note: You must be a member of the Learn Your CNC Academy Community to watch this replay. Benefits include weekly Q&A Meetups, weekly project lessons, monthly CNC challenges, an active community of Vectric users, past replay lessons & project files, and so much more!

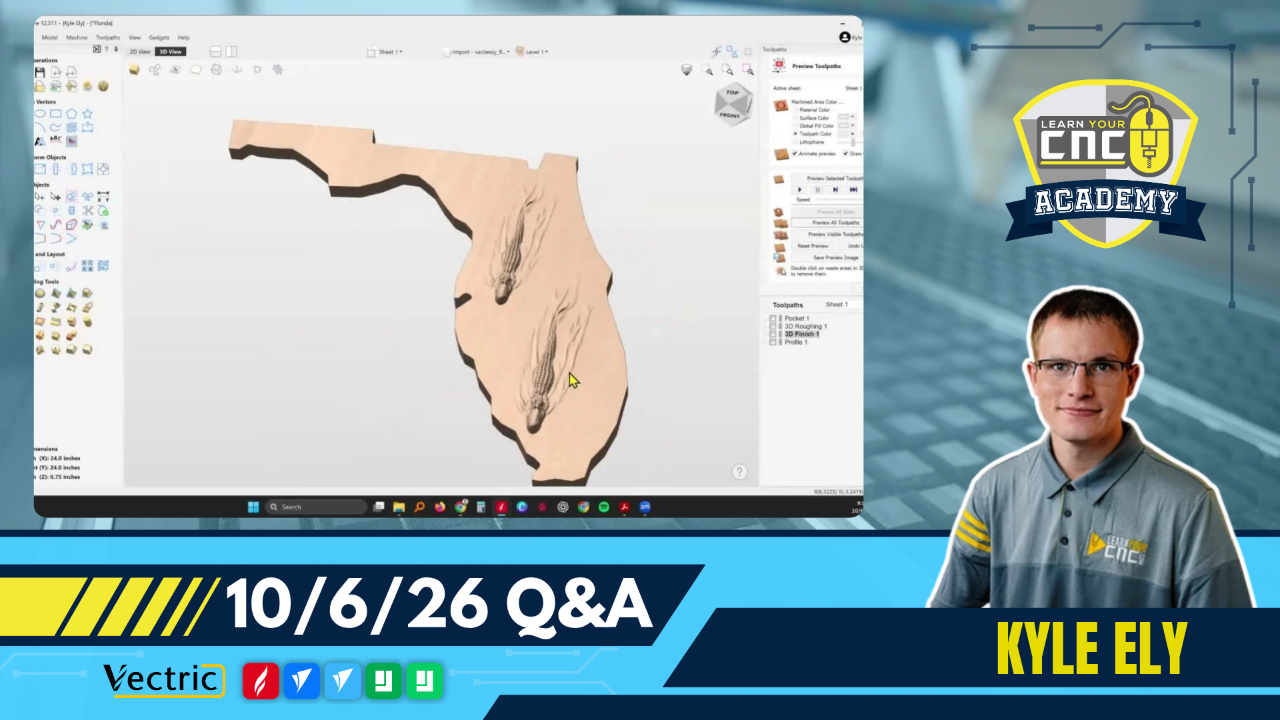
In this Q&A session, we covered questions ranging from cutting 3D files proud of a 2D profile to creating custom rosettes and moldings for large projects like a baptismal font. We discussed troubleshooting unlinked vectors when grouping, preventing chip-out on inlays by utilizing end-grain wood, and setting up one-directional surfacing to avoid visual line variations on bamboo. The session also touched on upcoming Vectric Version 13 features, AI integrations (MCP), and the recent acquisition of DeskProto.
Key Tips Learned in this Q&A:
-
3D Model Optimization: When placing a 3D model on a flat vector shape, use a 2D pocket toolpath to drop the background level . This allows the 3D model to sit proud of the surface while drastically reducing carve time compared to full 3D modeling.
-
Custom Moldings: Create custom moldings, like rosettes or crown molding, using the molding toolpath by drawing a side-profile vector and running it along a drive rail . Machine the pieces longer than needed so they can be accurately cut to size on a miter saw.
-
Toolpath Vector Grouping: If you group or ungroup vectors that are already tied to a toolpath, the software will not recognize them for recalculation . You must open the toolpath and reselect the newly grouped or ungrouped vectors to link them again.
-
Preventing Inlay Chip-Out: Face-grain woods, like rubberwood butcher block, are highly prone to chipping on small VCarve inlay details . Using end-grain wood or rotating face-grain strips 90 degrees before gluing provides much cleaner, stable cuts.
-
One-Directional Surfacing: To surface materials like BamX without leaving alternating visual grain patterns from a raster toolpath, create an array of straight line vectors . Use a profile toolpath set to "On the line" and check "Keep current start points" in the advanced options so the bit always cuts in the same direction.
Questions Answered in this Q&A:
-
00:03:43 - (Mike) How to cut out a 3D alligator proud on a flat 2D shape of Florida?
-
00:18:05 - (John) How to carve a rose/rosette design for a door frame?
-
00:30:03 - (Greg) Why won't my grouped vectors recalculate in my toolpaths?
-
00:33:06 - (Jeff) Can you use plate production with double-sided machining?
-
00:35:05 - (Ron) How to set up and cut moldings around the top and base of a custom baptismal font?
-
00:46:43 - (Thomas) How much should I charge for my CNC projects?
-
00:51:58 - (John) What are the details on Vectric acquiring DeskProto?
-
00:54:42 - (Jack) What is the Vectric AI interface (MCP) announcement?
-
00:57:27 - (Jim) How do updates and pricing work for Aspire 13?
-
01:01:59 - (Mike W) How to stop small details from chipping out on butcher block inlays?
-
01:05:00 - (Keith) How to face off a BamX blank cutting in just one direction?
-
01:17:48 - (John) Do you carry over your X and Y or just Z each time with a framing square setup?
Keywords:
vectric version 13, 3d carving optimization, custom cnc molding, molding toolpath, toolpath recalculation, double sided plate production, cnc pricing, deskproto, vectric mcp, cnc inlay chip out, end grain inlay, surfacing bamx, one directional rastering, framing square zero
Not a member of our Learn Your CNC Academy Community? Join over 1,500+ students today! Benefits include weekly Q&A Meetups, weekly project lessons, monthly CNC challenges, an active community of Vectric users, past replay lessons & project files, and so much more!